MigrateContactsDatabase » History » Revision 35
« Previous |
Revision 35/43
(diff)
| Next »
Denis 'GNUtoo' Carikli, 06/02/2022 02:57 PM
MigrateContactsDatabase
- Table of contents
- MigrateContactsDatabase
Migration overview
Starting with Replicant 6.0 0004 RC5, the internal contact database format has changed due to the removal of some nonfree code (the Ambient SDK).
So when upgrading from a Replicant 6.0 image before Replicant 6.0 0004 RC5, you will need to follow the migration procedure that is in this wiki page.
If you follow it, you will have to backup your contact database to a file, then you will erase the internal contact database from within the Replicant recovery.
When this is done you will be able to install the new Replicant image.
After that you will be able to restore your contacts database by restoring it from the file you backuped it to.
Backuping your contacts in a file
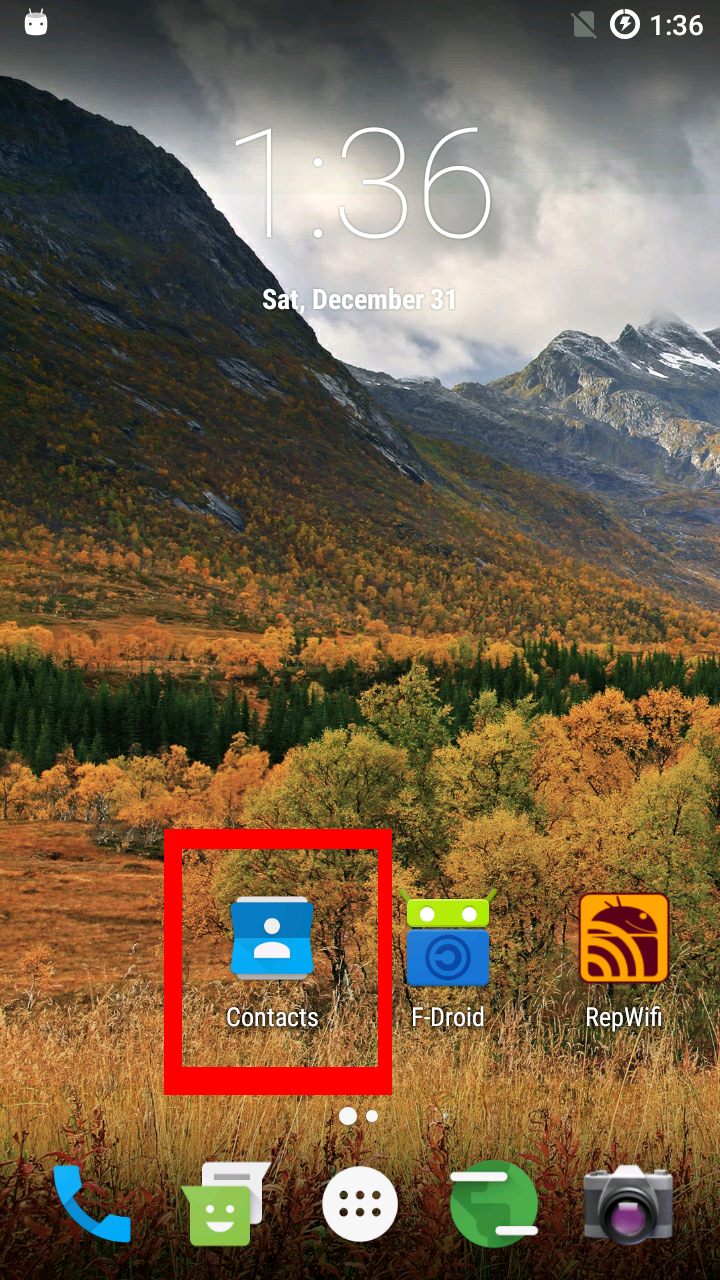
First, you'll need to make sure Replicant is booted on the device and open the stock contact application. Here's how it looks like after the first start of Replicant 6.0 0003:

Then if it shows a screen with "No contacts." in it, you won't need to backup the contacts to a file since you have no contacts, so you can skip this section (Backuping your contacts in a file), but you will still need to follow the rest of the tutorial in order to erase the internal contact database, otherwise your device may continuously crash after installing a new Replicant version with a different contact database format.
If instead it shows some contacts, like in the following image you will then need to backup them to a file:
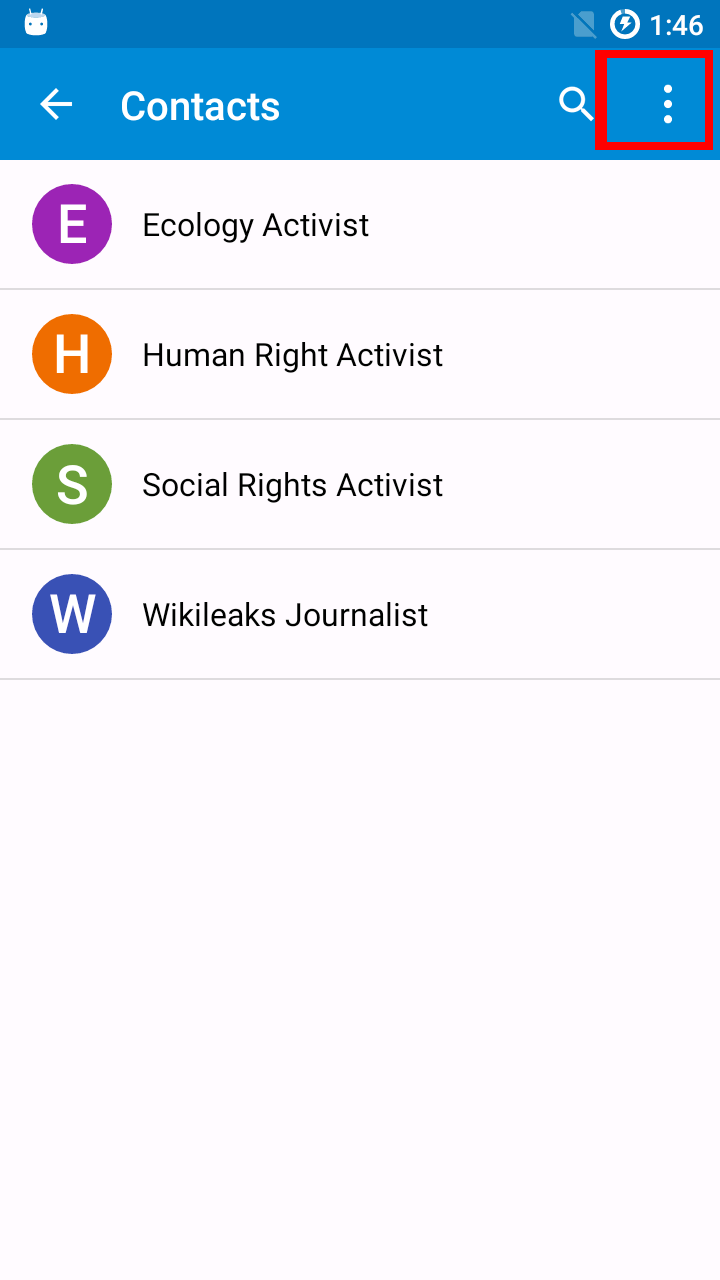
To do that you will first need to go in the contact application settings. For that click on the menu button (it's on the top right and it consists of 3 vertical dots):
That will display a menu. You will then have to select "Import/export" and then "Export to .vcf file":
It will then display a new screen with many contacts. You will need to click a menu button again (it's on the top right and it consists of 3 vertical dots):

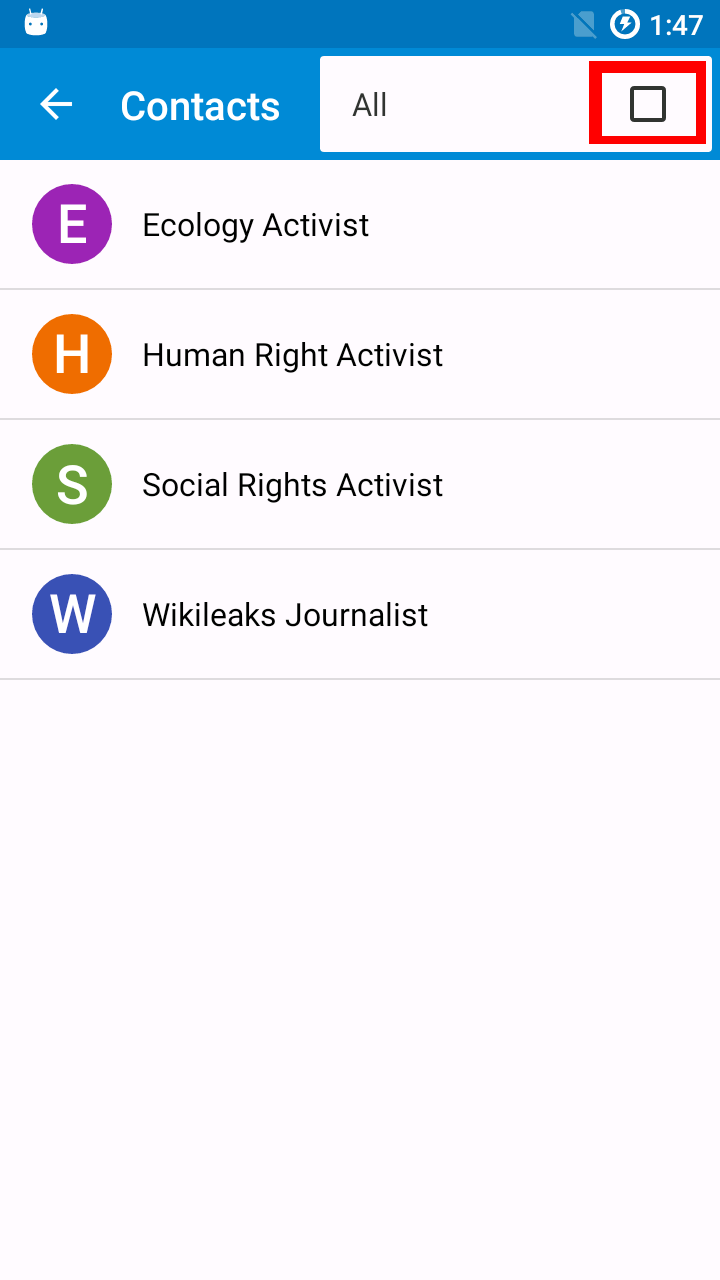
Then a new menu with only one option ("All [ ]") will appear:
You will need to select this option to select all contacts. This will bring to a new screen with all the contacts being checked. You will then need to press the right tick (it looks like a V) that is between the search button and the menu button on the top-right of the screen.

Once this is done, it typically brings you to the download application that let you save your contact to a file in the device. As there are no other options you need to select "Download" on the left to save it to the download folder:
- To copy it on a microSD and keep the microSD in a safe place where you won't loose it
- To copy it on an USB key with the help of a special usb cable
- To copy it on your computer with the help of adb
Setup ADB
Follow the instructions for setting up ADB on your computer so that you can access a root shell on your device.
NOTE: when prompted on your Replicant device, make sure that you check the box that says Always allow from this computer when you grant your computer USB debugging permissions. Otherwise, you will be unable to obtain root shell access on your Replicant device when you reboot it into the recovery OS to actually perform the backup.
NOTE: for security reasons, you may want to revoke these non-expiring permissions once the backup is complete.
Reboot into the recovery
To reboot in the recovery, you can follow the instructions in the RebootIntoTheRecovery wiki page.
Mount the data partition
You then need to mount the data partition.
For the Galaxy S III (GT-I9300), Galaxy S III 4G (GT-I9305), the Galaxy Note II (GT-N7100) and the Galaxy Note 8.0 (GT-N51xx), you can use the following command:
mount /dev/block/platform/*/by-name/USERDATA /data/
And for the Galaxy Nexus (GT-I9250), you can use the following command:
mount /dev/block/platform/*/*/by-name/userdata /data/
For the Galaxy S II (GT-I9100) and the Galaxy Note (GT-N7000), you can use the following command instead:
mount /dev/block/platform/*/by-name/DATAFS /data/
And for the Galaxy Tab 2 (GT-P31xx, GT-P51xx):
mount /dev/block/platform/*/*/by-name/DATAFS /data/
Erase your contact database
Once in the recovery, you will then be able to erase your contact database:
rm -rf /data/data/com.android.providers.contacts/databases/
rm -rf /data/data/com.android.dialer/
Once this is done you will need to umount the userdata partition. This can be done with the following command:
umount /data/
Install the new Replicant images
Once the backup is done, you can proceed to install the Replicant images that have the contact database format to migrate to.
Restoring your contacts from a file
TODO
Revoke USB debugging permissions
If you don't need USB debugging permissions anymore, it might be a good idea to remove them. The Revoking all computer's USB debugging permissions section in the ADB wiki page explains how to do that.
Finally
That's it! Your contacts database is now backed up.
Extra information
The file you backuped your contact in is in the VCard format. That format is a standard, and many other software are compatible with it.
Updated by Denis 'GNUtoo' Carikli almost 2 years ago · 35 revisions